Composite deck installation is a straightforward process that can be completed with basic tools and equipment. Follow these simple steps to ensure a successful installation:
Step 1: Prepare the Surface
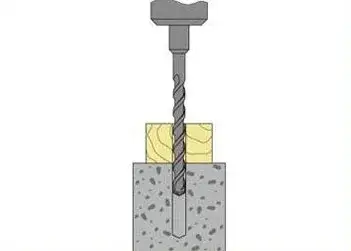
Before installing the composite deck, ensure that the surface is clean, level, and free from any debris or obstacles. Use an electric drill to drill the keel together with the ground at regular intervals, ensuring stability and support.
Step 2: Secure the Keel
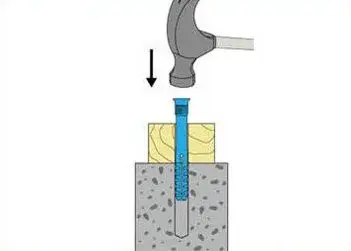
Insert expanding nail jackets into the drilled holes and use a hammer to ensure they are securely in place. This will provide a solid foundation for the composite deck. Hammer nails into the expansion jackets to further secure the keel to the ground.
Step 3: Install Additional Keels
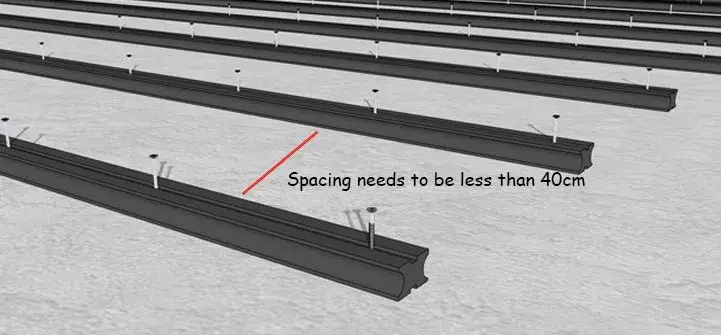
Repeat the above steps to install additional keels, ensuring that the distance between keels is less than 40cm for optimal firmness and support.
Step 4: Attach the Composite Deck
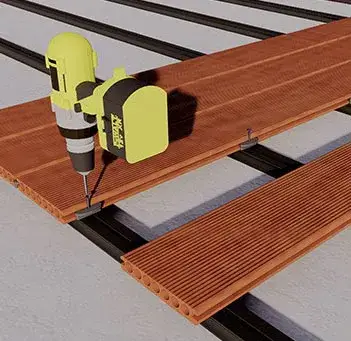
Once the keels are securely in place, it’s time to attach the composite deck. Fix the buckles to the composite deck and use an electric drill and screws to secure it to the keels. Make sure the deck is level and evenly spaced for a professional finish.
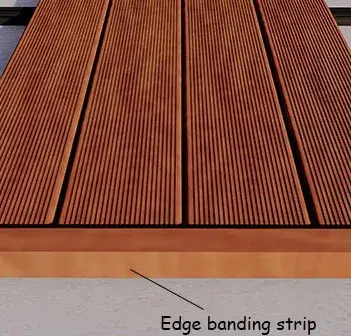
Step 5: Install Edge Strips
For a finishing touch, use nails to install edge strips along the perimeter of the composite deck. This not only enhances the aesthetics but also provides a neat and tidy appearance.
By following these steps, you can easily install a composite deck that is sturdy, durable, and visually appealing. With proper installation and maintenance, your composite deck will provide years of enjoyment for you and your family.